
Today we’ll be looking at the eagerly anticipated Adventure Force Tactical Strike Accelerator, produced by Prime Time Toys for Wal-Mart.
Last year, Prime Time Toys surprised more than a few folks with their initial entry into the squishy foam orb launcher realm with the Ballistix Ops Powerball blaster in their Dart Zone branding exclusively at Target. This blaster is also available, in Canadian Wal-Marts. This solid and affordable HIR springer picked up a lot of praise once it made it into players hands. When word appeared that we would soon be seeing another springer and a flywheel blaster for what looked to be a very solid price, some of us got a wee bit excited. Competition is good. Affordable competition is even better.
As of this writing, neither is available online at Wal-Mart and is slowly working its way onto shelves as part of the mid-January toy refresh. Consult your local BrickSeek results for the Accelerator and Titanium to see what’s made it to your area.
The Accelerator retails at 27.88 and includes the following: The blaster itself, a 25 round hopper, a tactical rail mountable sight, and 25 Tactical Strike rounds.
Like the Ballistix Ops Powerball, the Accelerator uses a hopper style ammunition container rather than the stick mag or agitation hoppers used by Rival blasters. Due to their design, the hoppers are removable and can be replaced with any of the other Tactical Strike hoppers or any of the Rival stick magazines. This is easily released by a slide on top of the nose of the blaster. As a result of this system, it is a bit difficult to aim traditionally. The design compensates for this by providing a tactical rail sight instead of a built-in and by placing the tactical rails on the side at a shallower angle. This allows for aiming with the blaster slightly tilted rather than turned a full 90 degrees.
The is roughly the same size and weight as the Zeus, with the handle about as far on the backside of center as the Zeus’ is in front of it. The plastic is solid and slightly thicker than we were, until recently, accustomed to with second-tier blaster companies. The trigger pull is nice and smooth with a relatively short pull with next to no resistance. What I found most interesting here was the rev trigger. It is mounted as a pivot rather than a perpendicular squeeze with a nice chunky click when the switch is triggered. The handle is good sized for average adult hands – I found no part of it cumbersome or in the way.
HIR games are ultimately team-oriented, requiring a need to identify players sides. Adventure force chose to tackle this by providing swappable team plates for either side of the blaster. The accelerator is shipped with two plates matching the primary shell color installed. It includes primary Red and Blue that can be swapped out without tools.
The shell has a moderate level of sculpted details, providing good tactile feel where needed but not getting hugely busy. It is even decorated underneath the pop-out plates. That was not expected. The dominant color is the green you’ll know if you own any number of the Adventureforce blaster. The handle and branding plates are molded in a dark grey with the muzzle, triggers, and trigger lock in traditional toy-safety orange. The hopper is a smoked translucent plastic of slightly lighter plastic with an orange rubberized cap and decorative shield.
Adventure Force green is either an issue or a non-issue.
I found two small issue in the design. The first, no sling mounts. As a likely primary, this probably is minor. The screw and screw port used to secure the battery cover are deep and narrow enough that a typical PC case thumbscrew won’t do the job. A little hunting will be required.
It also suffers from the common issue of all hopper feed systems in the potential for feeder jams. As this can be mitigated with a stick mag or an agitator system and is solved with a little shake, I don’t consider this so much as design flaw as a deliberate decision.
Light Teardown
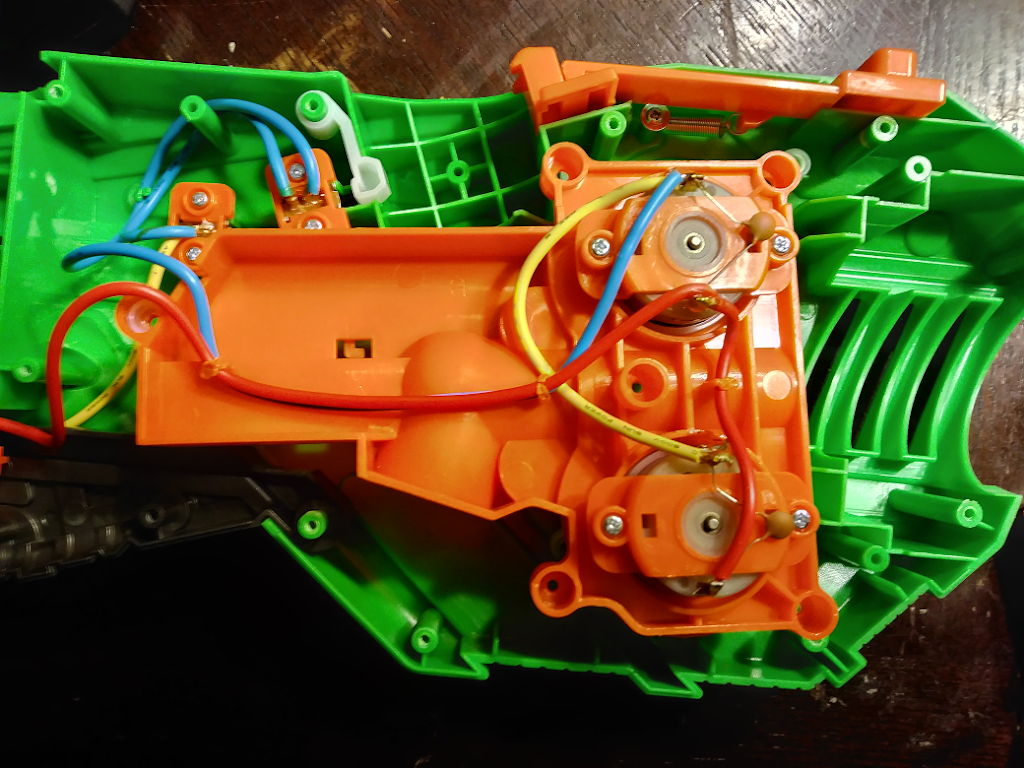
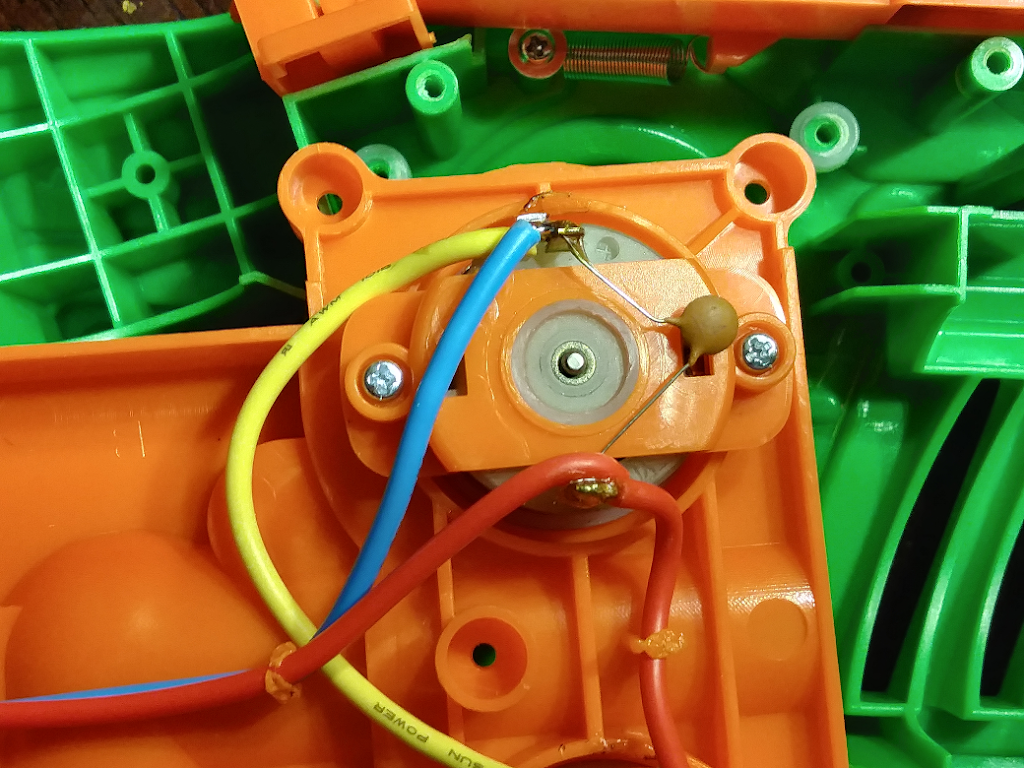
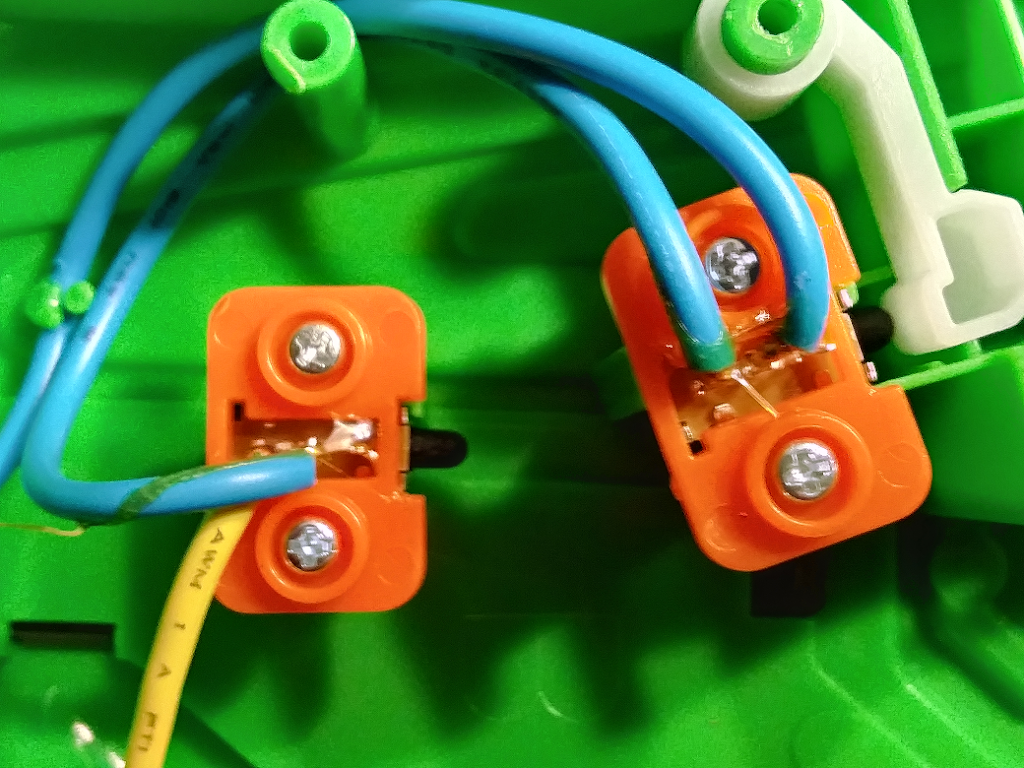
The construction of the blaster is more robust than any I have taken apart. The wiring is a much heavier gauge than typical, as you can see from these shots of the motor wiring.
 |
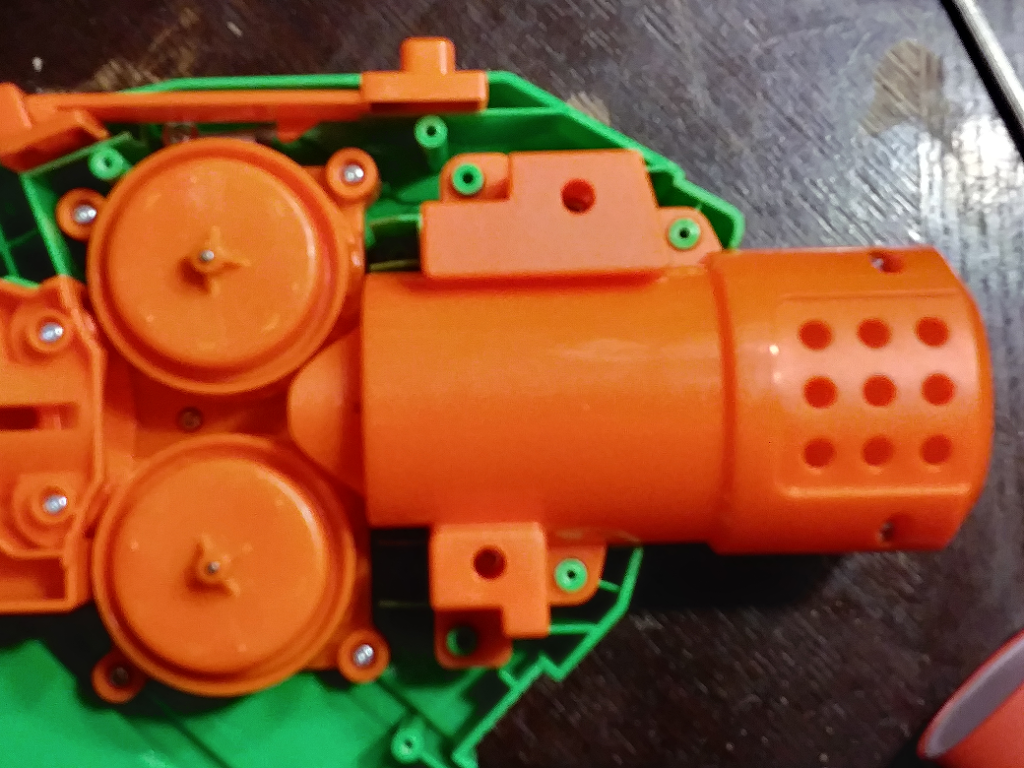
| Flywheel cage inverted. |
 |
| Flywheel cage, a smidge closer. |
 |
| squishy little suckers. |
 |
| cage side of the feeding tube with the pusher in place. |
 |
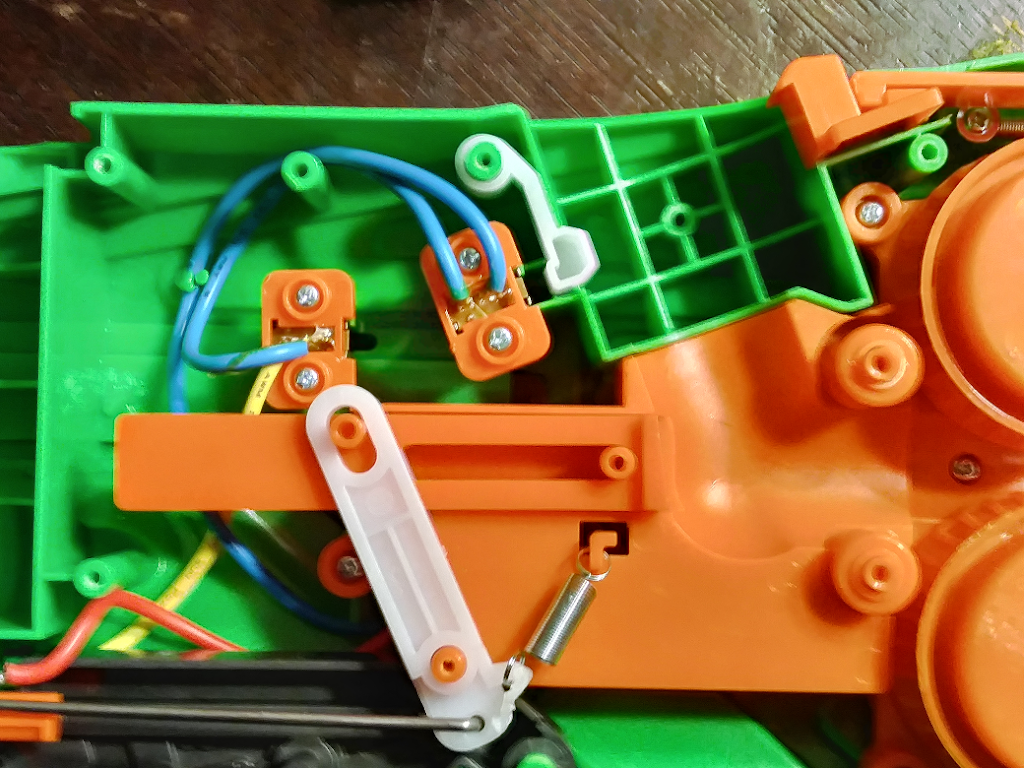
| A closer look at the jam door and hopper/magazine switches. |
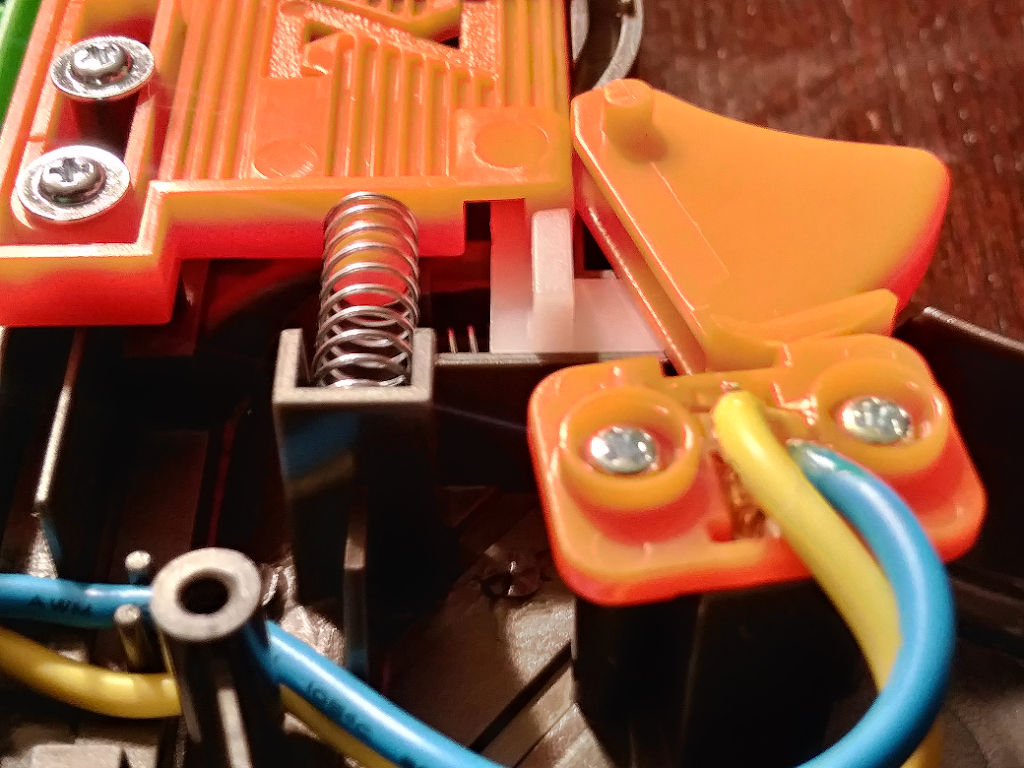 |
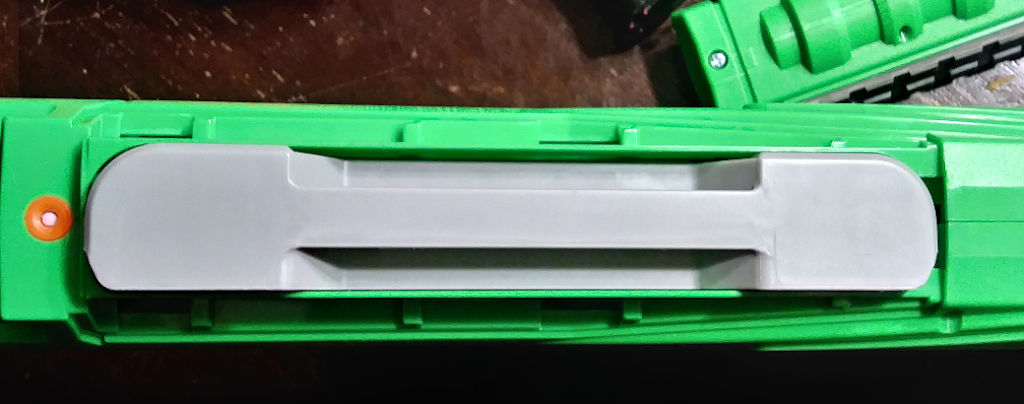
| the white sliding piece prevents a trigger pull |
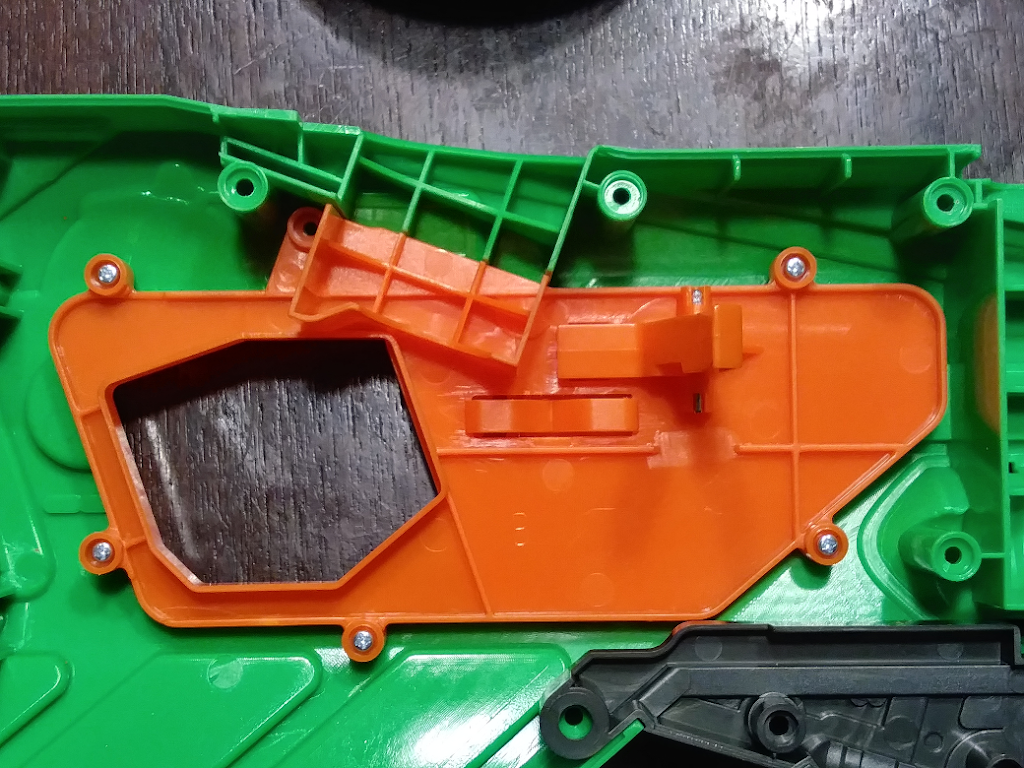
No solvent weld was found taking this blaster apart. It uses a combination of pot and screw assembly and clip-in panels for all of the pieces, making this very easily disassemblable for painting.
 |
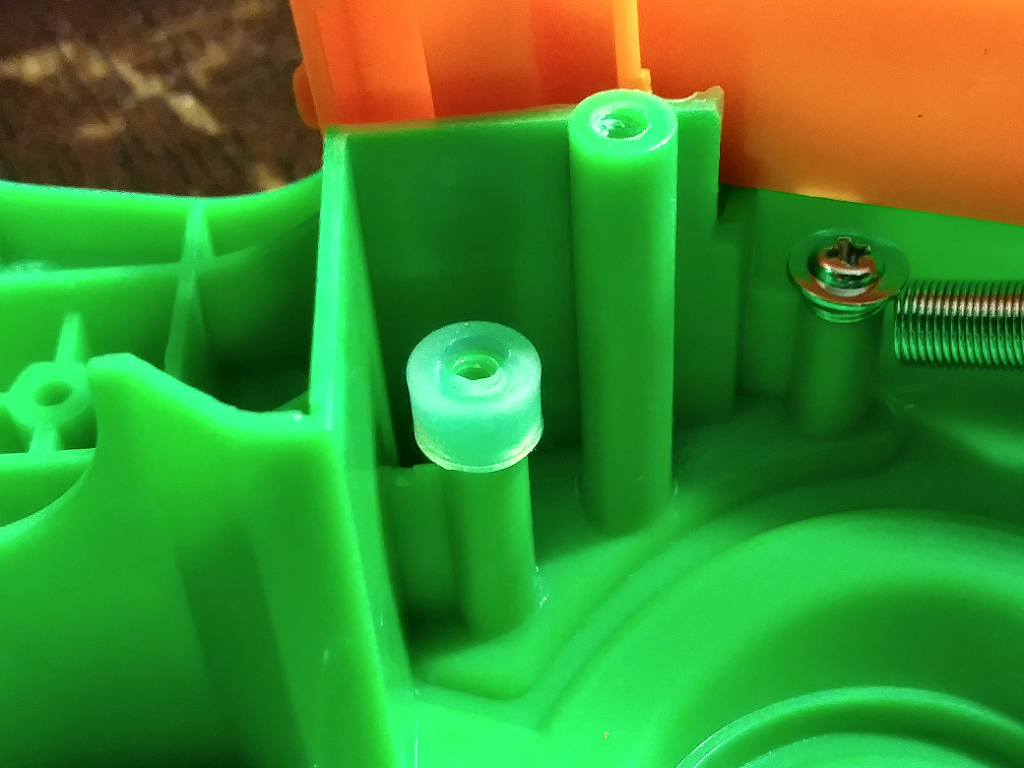
| the barrel sits nicely on the four screw posts. |
 |
| an easy fit – woohoo. |
Modification Potential
Resulting Opinion
Other Reviews
Lord Draconical
Out of Darts #1
Out of Darts #2
Out of Darts Mod Guide
Vlad the Nerf Neko